
Rug Design Guide
When designing your very own custom rug, it can help to know
How it works
When you arrive, we will help you trace your design onto your canvas, like this:

1
Pull up your image on your phone

3
Trace the outlines of your image

2
Connect to the projector and cast your image onto the canvas
For those who want to prepare in advance, here are some…
Design Guidelines
(But don’t worry, you certainly don’t have to come prepared. If you’d rather show up and choose a Ready-Made Design when you get here, that works too! And in the meantime, feel free to browse our Ideas and Ready-Made Design Folders.)
1. The color of the image you bring isn’t final.
Right now, you’re choosing the shape and outline of your design — not the final colors.
During your workshop, you’ll get to explore our yarn wall and pick the colors that feel most like you.
So if you love a design but wish it were purple instead of orange, go ahead and bring it — you can customize the colors when you choose your yarn.

you can choose your own yarn color when you get here!
your image
what you trace
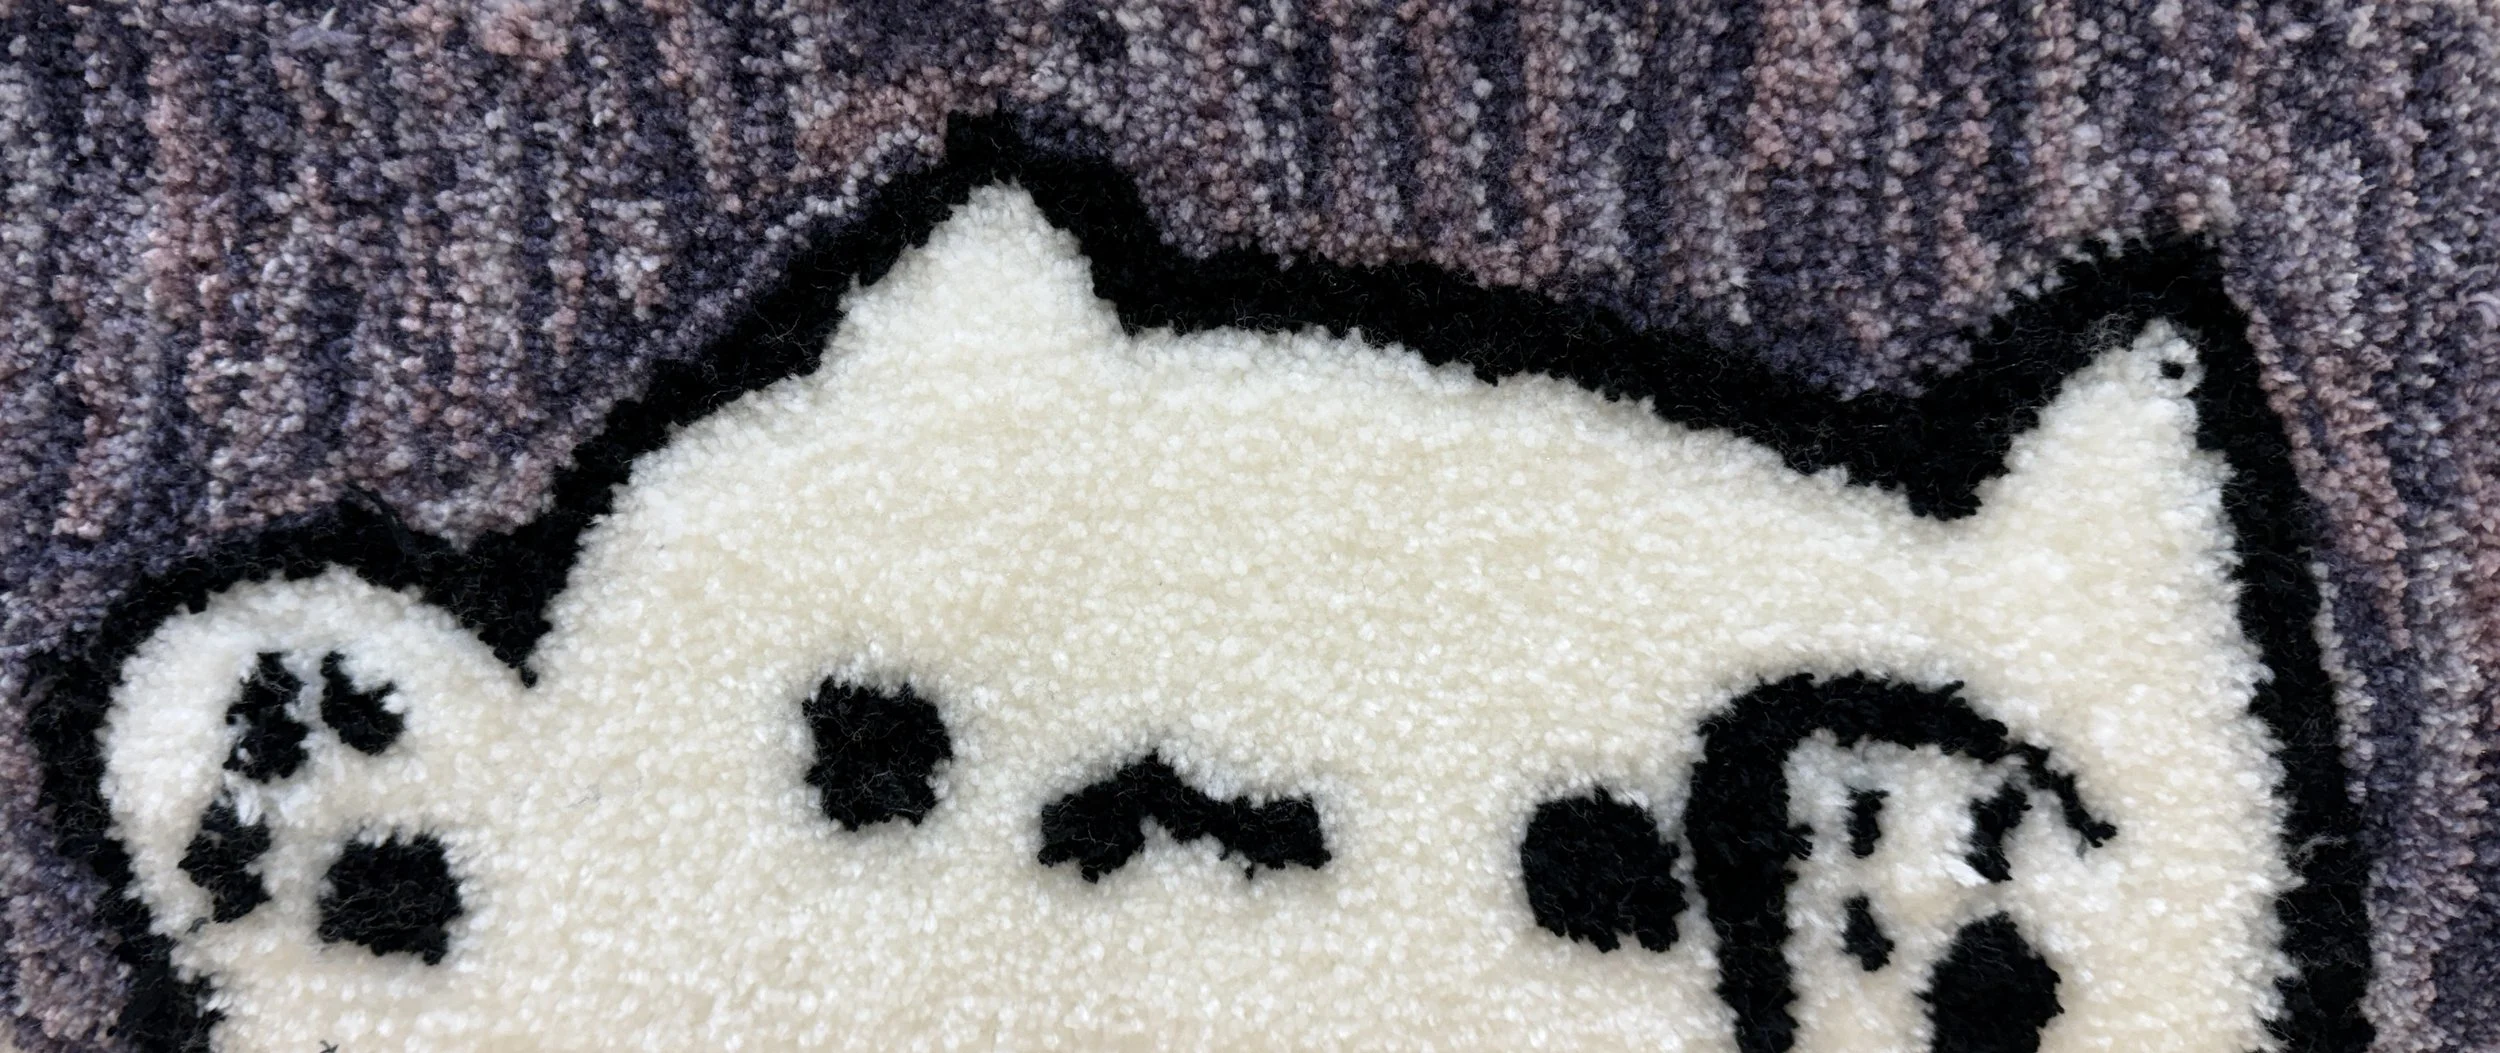
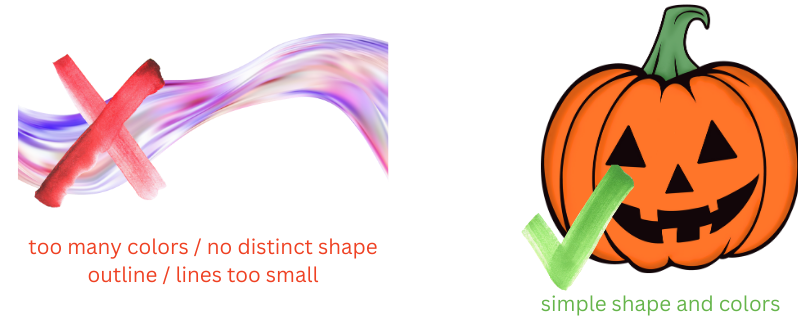
2. Use bold, simple shapes.
Thin lines and text are challenging to tuft
and best left to advanced tufters. For the
best results, keep your design lines simple,
thick, and clear.

3. Avoid small text, shadows,
gradients, or complex lines.
If your image includes gradients, we’ll trace
its outline and use our best judgment to
simplify it into a flat, tuftable design.

4. Use clean bold lines.
Think: abstract patterns, cartoon-style art, or clean minimalist icons.
5. Stick to distinct shapes that you can fill in.
Think of it like coloring with a wide tip marker. With a tufting gun, you won’t be able to achieve small lines or shading textures. If your image has outlines, make sure they are thick enough to tuft! Or else you may want to consider removing the outline altogether and just letting it run right up into the shape of the next color.
Each color in your image becomes a separate line, so
simpler designs work best. If your image is complex, you may need to simplify it to ensure a smooth workshop experience
(and you can always make adjustments when you arrive).

6. Before you tuft, we will need to invert your image.
We can do this when you arrive, no worries. We’re posing it here just as a reminder in case one of us forgets! We tuft "from the back" of the frame – so text will appear backwards if not inverted.

We tuft from the back…

…so the front will look like this!
This is simple to do using an iPhone, like this:


Size Specifications
We can adjust your image when you arrive. These specs are just here in case you’d like to be precise and have it all planned out ahead of time!
| Workshop Type | Frame Size | Max Image Size |
|---|---|---|
| Custom Wall Art: Mini Frame | 20 x 12" | 18 x 10" |
| Custom Wall Art: Small Frame | 18 x 18" | 16 x 16" |
| Custom Wall Art: Medium Frame | 24 x 24" | 22 x 22" |
| Custom Wall Art: Large Frame | 36 x 36" | 34 x 34" |
| Coasters (Mini Frame) | 20 x 12" | 18 x 10" |
| Keyboard Strip (Mini Frame) | 20 x 12" | 18 x 10" |
| Plant Cozy (Mini Frame) | 20 x 12" | 18 x 10" |
| Pillow Small | 18 x 18" | 16 x 16" |
| Pillow Medium | 22 x 22" | 20 x 20" |
| Pillow Large | 24 x 24" | 22 x 22" |
| Custom Wall Art: Mega Frame | 36 x 68" | 34 x 66" |
Notes
Use this guide and the Canva templates to create your image with the correct ratio, if you’d like to be precise.
We can use the projector to adjust it to fit, rotate, and invert your image, which may involve cropping and slight changes.
Designs that are smaller, square, or uniquely shaped are perfectly fine, even if they don’t match the frame’s exact ratio. The sizes listed are simply the maximum dimensions, so extra space on the canvas is normal.
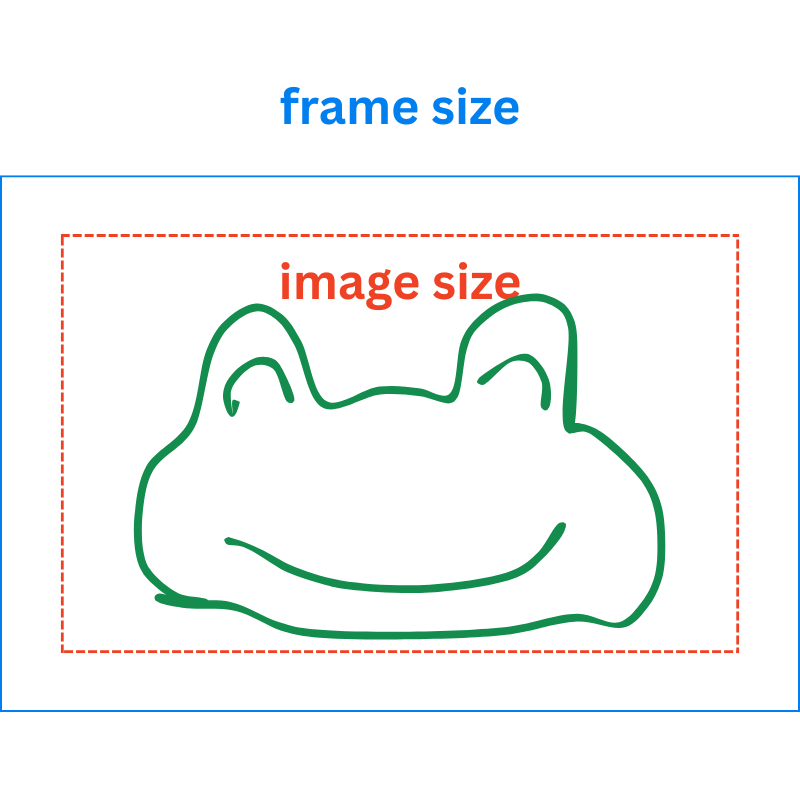
Why are image sizes smaller than the frame size?
A 2-inch margin is needed around your design because the tufting gun hits the canvas at an angle near the edges, which can distort your design if it’s too close.
This margin also improves safety — working too close to the frame edge increases the risk of contact with the sharp nails that hold the canvas in place.
Your design might be a unique shape you plan to cut out, or a square on a rectangular frame — and that’s totally fine! It just means there will be extra canvas space around the sides. Our team will position and orient your design for the best fit and tufting results.
Image Ideas & Inspiration
@commonthreadxenia
Check out our Pinterest boards for endless explorations and inspiration.